


Given By:

The Invite

The Ladies

We are happy to announce Bon Vivant 12 in 2012!
We are pleased to welcome our newest members!
Phoebe, Sarah, Stephanie, and back again-- Aimee!
Chrissy & Tiffany decided to celebrate our group for this dinner. The theme: Bon Vivant 12, on the 12th with a 12 "course" dinner!
The Menu!
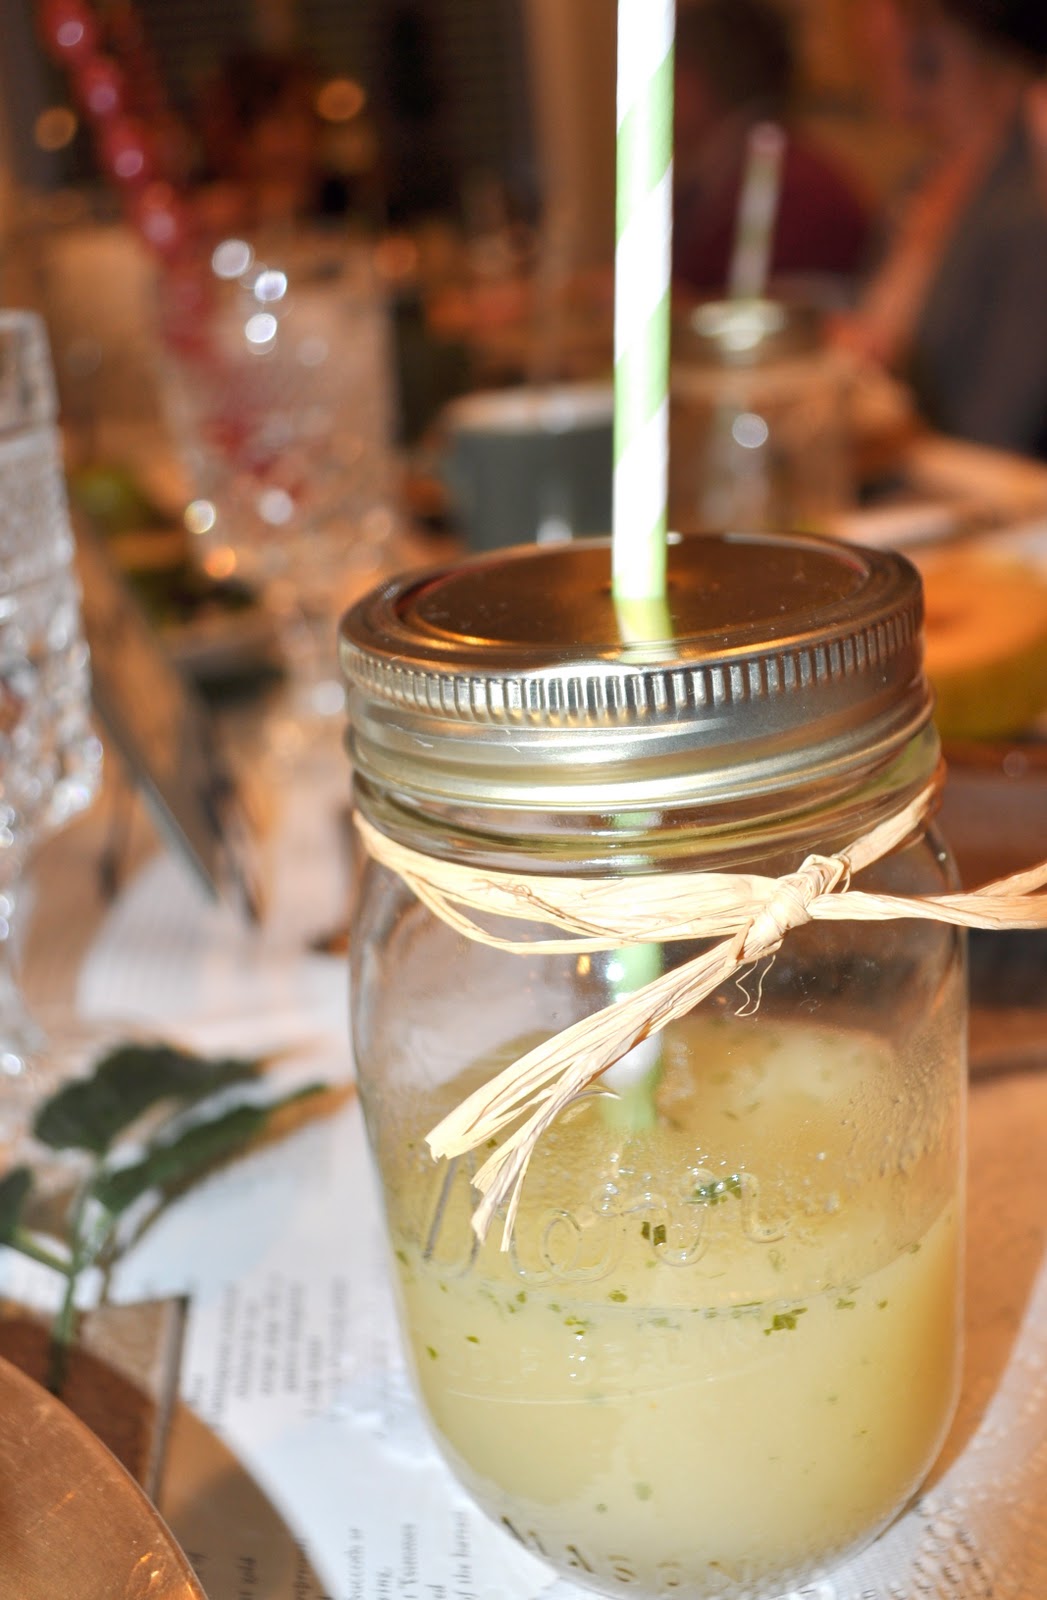
We started out the evening with a refreshing Juicey Pear beverage and a salsa bar with homemade tortilla chips and 3 kinds of salsa: Citrus, Watermelon, and Corn. Also, a fun little appetizer called a Spanish Varilla, you need to try this one!

Homemade
Baked Tortilla Chips
Ingredients:
1 small package of white corn
tortillas, taco size, cut into triangles
EVOO spray
Oregano
Garlic Salt
Grated Parmesan
Salt-to taste
EVOO spray
Oregano
Garlic Salt
Grated Parmesan
Salt-to taste
Directions:
1. Preheat the broiler to high. Put
corn tortilla triangles on a large baking sheet. Don't overlap the chips. If
you want to make a large batch, fill a second pan and only bake one at a time.
2. Spray the triangles lightly with
cooking spray. Turn over triangles and spray again. Sprinkle with salt, to
taste.
3. Bake in the oven for about 3-4
minutes. Turn chips over and bake for another five minutes, or until chips are
golden brown and crisp. Make sure you don't go too far while the chips are in
the oven. They will bake quickly!
4. Cool and serve with guacamole,
salsa, or eat them plain.
1. Watermelon Salsa (This one was my fave!)
from Country Living
Ingredients:
- 3 cup(s) finely diced seedless watermelon (from a 5-pound watermelon)
- 2 jalapeño peppers, seeded and minced
- 1/3 cup chopped fresh cilantro
- 1/4 cup minced red onion
- juice of 2 limes
- Salt
2. Corn Salsa
http://allrecipes.com/Recipe/heathers-cilantro-black-bean-and-corn-salsa/Detail.aspx
Ingredients
- 1 (15 ounce) can yellow corn, drained
- 1 (15 ounce) can white corn, drained
- 2 (15 ounce) cans black beans, drained and rinsed
- 1 (14.5 ounce) can Italian-style diced tomatoes, drained
- 1 bunch finely chopped cilantro
- 5 green onions, finely sliced
- 1 small red onion, finely chopped
- 1 red bell pepper, seeded and chopped
- 1 tablespoon minced garlic
- 1/4 cup lime juice
- 1 avocado – peeled, pitted, and diced
- 2 tablespoons olive oil, or to taste
3. Citrus Salsa
http://www.eatingwell.com/recipes/citrus_salsa.html
Ingredients
- 3 navel oranges
- 2 limes
- 1 teaspoon chopped fresh cilantro
- 1 teaspoon seeded and minced serrano chile
- 2 teaspoons seasoned rice vinegar
- 2 teaspoons extra-virgin olive oil
- 1/8 teaspoon salt
- Freshly ground pepper, to taste
Spanish Varilla
Paper-thin slices Serrano ham
Bread sticks (I used regular breadsticks or you can make your own recipe)
Cream cheese
Chives
Pepper
Parmesan
Lettuce or salad leaves
Optional: finely minced sun-dried tomatoes
Directions:
 Start with the greens! In case you haven’t noticed – I’m a vegetable
nut. I love to eat bright colored food, nothing beats fresh, juicy
vegetables and herbs. Shiny green chives and salad leaves are not only
pretty, they also give just enough crunch. Chop the chives and give the
leaves a quick wash.
Start with the greens! In case you haven’t noticed – I’m a vegetable
nut. I love to eat bright colored food, nothing beats fresh, juicy
vegetables and herbs. Shiny green chives and salad leaves are not only
pretty, they also give just enough crunch. Chop the chives and give the
leaves a quick wash.
Juicey Pear – serves 4
INGREDIENTS:
2 ripe pears -- peeled & cored
2 cups apple juice (or white grape)
1/4 cup lemon juice
1 tablespoon liquid honey
2 mint leaves
2 cups apple juice (or white grape)
1/4 cup lemon juice
1 tablespoon liquid honey
2 mint leaves
PREPARATION:
In a blender or food processor, combine all
ingredients and blend until smooth and frothy. Chill thoroughly and stir before serving. To froth this drink, return to blender and blend again just before serving.
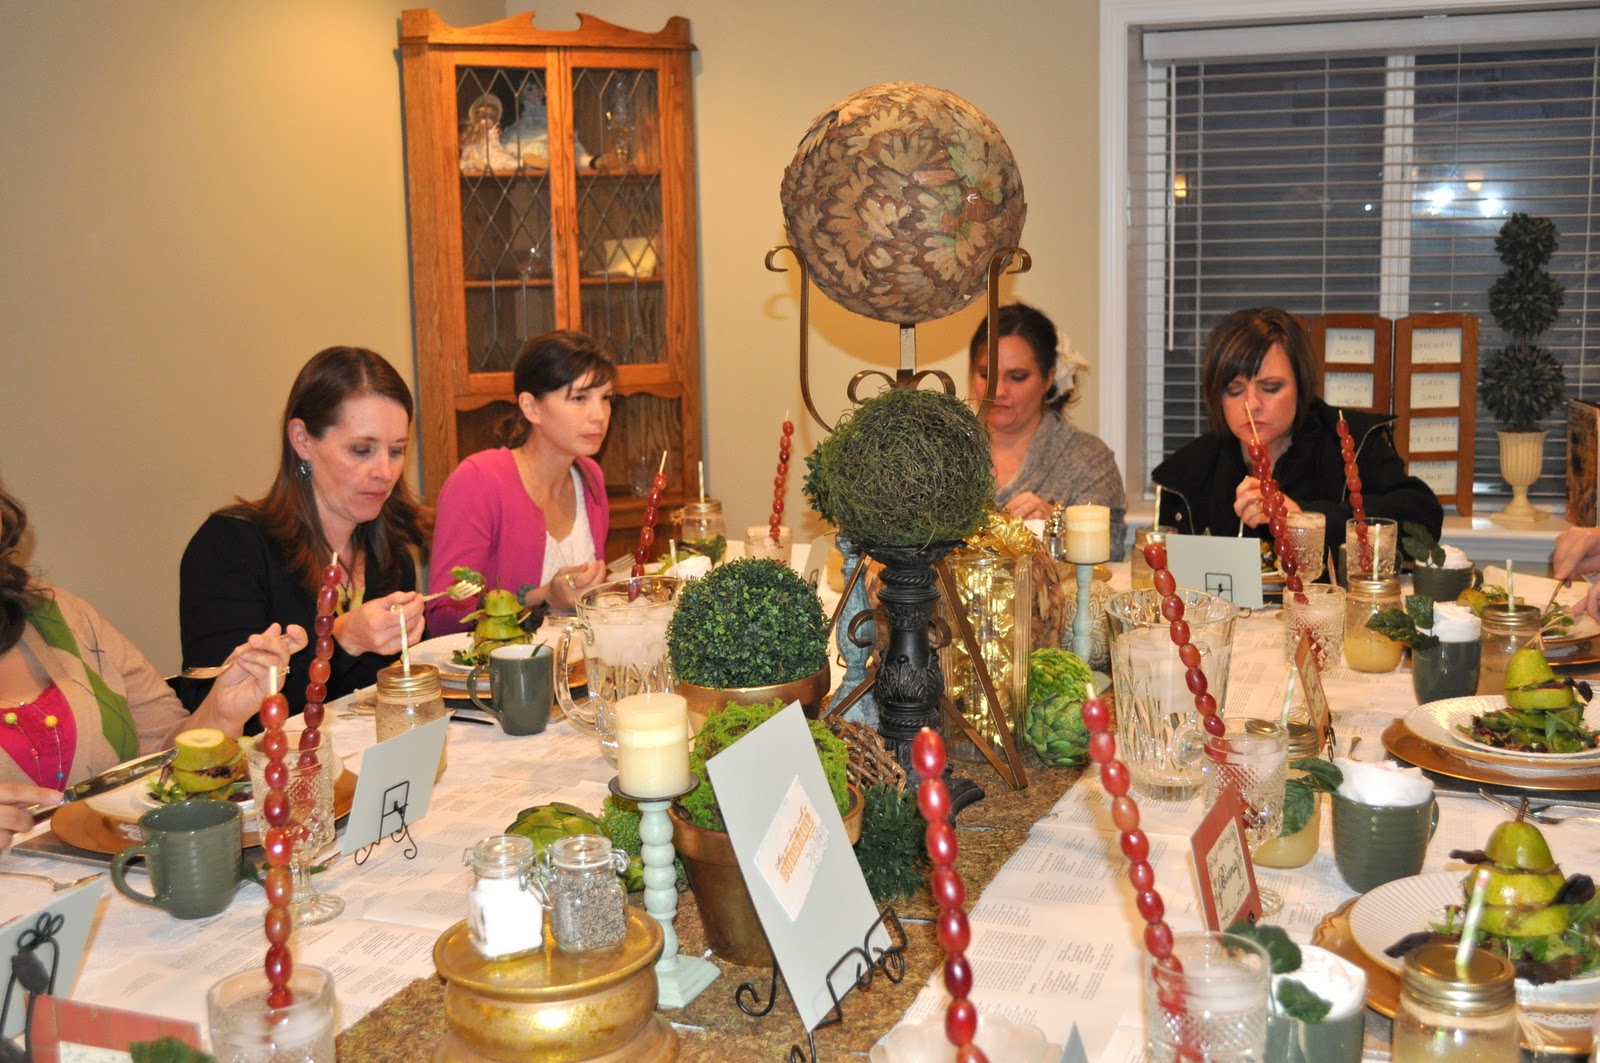
There is a fun Spanish New Year tradition to eat 12 grapes in the last 12 chimes of the year to bring in luck for the new year! You might want to start THIS fun tradition in your family :) We did not .. however.. stuff our mouths full of grapes... but they certainly made a pretty addition to our table! :)
Moving on to salad!


Constructed Pear Salad-- which is so fun to look at and and surprised the palette with a yummy champagne vinaigrette dressing.
StoneGable Constructed Pear Salad
5~Perfect ripe pears with stems attached
2 cups Mixed greens
1 cup Arugula
1/2 cup Arugula, for garnish
1/4 cup pan roasted pecans, cooled and rough chopped
1/2 cup munchkin grapes (or use golden raisins, craisins, dried cherries, dried fig, etc)
1/4 cup bleu cheese crumbles
champagne vinaigrette (recipe follows)
6 thin slices of prosciutto
honey, to drizzle
Champagne Vinaigrette
1/2 cup good olive oil (I use light OO for this recipe)
2-3 TBS good champagne vinegar
1 tsp honey
1/8 tsp dijon mustard
Mix well. Set aside
Click here to find out how to make it pretty with step by step instructions.
Next on the menu, White Chili, a recipe from Ellie Krieger {YUM} It really makes my mouth water just to say the name. It's not your standard chili-- and it's good for you!
Click here to find out how to make it pretty with step by step instructions.
Next on the menu, White Chili, a recipe from Ellie Krieger {YUM} It really makes my mouth water just to say the name. It's not your standard chili-- and it's good for you!

White Chicken Chili
http://www.foodnetwork.com/recipes/ellie-krieger/white-chili-recipe/index.html
Ingredients
- 1 tablespoon olive oil
- 1 medium onion, diced (about 1 1/2 cups)
- 2 stalks celery, diced (about 1/2 cup)
- 3 medium poblano peppers (about 4 ounces each), seeded and white ribs removed, finely diced (about 1 1/2 cups)
- 1 clove garlic, minced
- 1 teaspoon ground cumin
- 1/2 teaspoon ground coriander
- 1/4 teaspoon cayenne pepper, more to taste
- 1 pound ground white meat turkey or roasted chicken
- 2 (15.5-ounce) cans white beans such as cannelini, preferably low-sodium, drained and rinsed
- 4 cups low-sodium chicken broth
- 3/4 teaspoon dried oregano
- 1 (15.5-ounce) can hominy, drained and rinsed
- Salt
- 1/4 cup nonfat plain Greek-style yogurt
- 2 tablespoons chopped fresh cilantro leaves
- Lime wedges
Directions
Heat the oil in large pot or Dutch oven
over moderate heat. Add the onion, celery,
poblanos, and cook, stirring occasionally, until the vegetables are soft, about
8 minutes. Add the garlic, cumin,
coriander and cayenne and cook, stirring, until fragrant, about 30 seconds.
Add the ground turkey and cook, breaking up the meat with a spoon, until the
meat is no longer pink about 2 minutes. Add the white beans, broth and oregano.
Cook, partially covered, stirring occasionally, for 25 minutes. Add the hominy and salt and more cayenne pepper, to taste, and continue cooking, partially covered, 10 minutes longer. Ladle into individual bowls and top each serving with 1 tablespoon of yogurt and 1 1/2 teaspoons of cilantro. Garnish with a lime wedge.

Now we are on to our main course(s)
Meatball Slider... gourmet style
PF Chang lettuce wrap
& Cruise Lunch


Meatball Sliders with Pao De Queijo {Brazilian cheese} Rolls
Italian-style sliders made with juicy meatballs.
Ingredients
- 1/4 cup vegetable oil
- 1/2 pound ground beef
- 1/2 pound ground pork
- 1/3 cup panko
- 1/3 cup water
- 1/3 cup freshly grated Parmiggiano-Reggiano
- 1 large egg
- 1/4 cup chopped fresh parsley
- 1/2 tsp Italian seasoning
- pinch red pepper flakes
- 1 tsp salt
- 1/2 tsp ground black pepper
- 2 cloves garlic, minced
- Mozerella cheese, 18 small cubes
- Butter
- Brazilian Cheese rolls*
- 1 1/2 cup Marinara sauce
- Whole basil leaves
Instructions
- Heat vegetable oil over medium-high heat.
- Mix remaining ingredients (through garlic) by hand in large bowl until just combined.
- Form into meatballs (I got 18) and place into pan in two batches. Stuff a cube of mozerella cheese into each meatball. Brown on all sides and remove from pan when cooked through.
- Heat a new pan over medium-high heat.
- Simmer marinara sauce in a small sauce pan.{I pureed the Marinara after it was cooking to make it easier to spread.}
- Assemble the sliders from the bottom up: Spread a spoonful of
marinara onto the cheese roll, top with a basil leaf, meatball, and
roll top. {we left the sliders open faced}
*In a pinch, if you have access to a imported market, you can use this boxed recipe for the rolls. They are quick and delicious!
*The meatballs can also be prepared ahead of time and formed into balls. Freeze BEFORE browning.
Yields: 18 sliders
PF CHANG LETTUCE WRAPS
Serves 2-3Ingredients:
1lb ground chicken breast
1/2 medium onion, minced
salt & pepper, a dash of each
2 large cloves garlic, minced
1 inch nob fresh ginger, peeled & minced
1 Tablespoon sesame oil
2 1/2 Tablespoons soy sauce
1/2 Tablespoon water
1 Tablespoon natural peanut butter
1/2 Tablespoon honey
1 Tablespoons + 1 teaspoon rice vinegar
2 teaspoons chili garlic sauce (or more if you like it hotter)
dash of fresh pepper
3 green onions, chopped
1/2-8oz can sliced water chestnuts, drained & chopped
1/4 cup peanuts, chopped
10-12 large outer lettuce leaves, rinsed and patted dry|
Click HERE for step by step pictures & preparation instructions.
Cruise Lunch Wrap
Jalepeno wraproasted sliced deli turkey
Roasted red peppers
Arugula (spinach mix)
Pesto Mayo {make your own PESTO, or use store bought in any flavor*sun dried tomato is tasty! Mix with regular mayo.}
TO assemble:
Spread pesto mayo on wrap. Place roasted sliced turkey down one side of wrap. Place a handful of arugula/spinach mix on top of turkey, followed by slices of roasted red pepper.
Roll wrap from bulk end and slice in half on diagonal to serve.
{I call this a CRUISE wrap because I craved it every day when I was on my cruise in Alaska! I had to recreate it when I got home... and it's always a quick, tasty healthy lunch!
Last but SO not Least!
DESSERT!
DESSERT!

We ended our lovely evening with Chocolate Nutella Lava Cakes, Homemade Ice cream, White Chocolate Custard cups, & Cheese Cake Stuffed Strawberry. Yes-- that is literally a mouth full! :)
Chocolate Lava Cakes & Homemade Ice Cream
Chocolate Nutella Molten Lava Cake
http://www.bellalimento.com/2010/02/04/chocolate-nutella-molten-lava-cake/
What you’ll need:
http://www.bellalimento.com/2010/02/04/chocolate-nutella-molten-lava-cake/
What you’ll need:
11 tablespoons unsalted butter
6 ounces of bittersweet Chocolate Chips (I used Ghiardelli)
3 whole eggs + 3 additional egg yolks
1/4 cup sugar + 2 additional tablespoons
6 tablespoons all purpose flour
4 tablespoons Nutella
1/4 cup chopped Hazelnuts
Strawberries
6 ounces of bittersweet Chocolate Chips (I used Ghiardelli)
3 whole eggs + 3 additional egg yolks
1/4 cup sugar + 2 additional tablespoons
6 tablespoons all purpose flour
4 tablespoons Nutella
1/4 cup chopped Hazelnuts
Strawberries
What to do:
1. Place your butter & chocolate chips into a double boiler and allow to melt completely over the steaming water. Stir frequently.
2. WHILE the chocolate butter is
melting. Place eggs and sugar into the bowl of your mixer. With the whisk
attachment mix on medium-high speed until they become light & thick (about
8-9 mins). When light & thick add the flour & mix together.
3. SLOWLY & GRADUALLY pour the
chocolate/butter mixture into the egg mixture. Mixing on low until well
combined & develops a glossy sheen (about 5-6 mins).
4. Preheat your oven to 350 degrees.
WHILE the mixture is finishing it’s final mixing (turning glossy) GENEROUSLY
spray 4 small ramekins with cooking spray. When the batter is finished it’s
time to assemble:
5. Place sprayed ramekins onto a
cooking tray. Ladle batter HALFWAY up the side of each ramekin. Then, spoon 1
tbsp of Nutella into each ramekin. Finish ladling remainder of batter into each
ramekin (do not overfill). Bake ramekins for 1o-14 mins until outside is solid
and top appears to be soft (but NOT jiggly)
6. WHILE cakes are cooking, chop
your walnuts & cut your strawberries. When cakes are ready CAREFULLY remove
them from oven, place a plate on top of each one and quickly invert it. With a
kitchen towel remove the ramekin, cake should fall right out. Garnish with nuts
& strawberries. Serve immediately!
White Chocolate Custard Cups (to make this dessert, follow the same instructions only substitute dark chocolate chips with white, and replace nutella with a dove white chocolate piece.)
Cheese Cake Strawberry
Ingredients:
-1 lb large strawberries
-8 oz. cream cheese, softened (can use 1/3 less fat)
-3-4 tbsp powdered sugar (4 tbsp for a sweeter filling)
-1 tsp vanilla extract
-graham cracker crumbs
Directions:
1. Rinse strawberries and cut around the top of the strawberry. Remove
the top and clean out with a paring knife, if necessary (some may
already be hollow inside). Prep all strawberries and set aside.
2. In a mixing bowl, beat cream cheese, powdered sugar, and vanilla
until creamy. Add cream cheese mix to a piping bag or ziploc with the
corner snipped off. Fill strawberries with cheesecake mixture. Once
strawberries are filled, dip the top in graham cracker crumbs. If not
serving imm
ediately, refrigerate until serving.
Take Home, Guests & more Decor!

Our Take home included: A custom canvas gourmet bag, hand dipped chocolates, gold gumballs and a "kosher salt cellar" complete salt explanation card by food personality Alton Brown.
The bags served as fun chair decor~

THE TABLE
The "table cloth" was made from old cook book recipe pages. We used a rose technique for the napkin and placed it in the mug which was used to serve soup.


~Our fun and LOVELY ladies of the evening~

Stephanie and Aimee a new duo to the group, but Aimee a returning member! We are glad to have her back with her fun partner Stephanie-- looking forward to your dinner, ladies!

2 of our newest members: Sarah and Phoebe and Phoebe's sweet little dinner partner this evening - Fay (not Phay)-- what a sweetheart! She was a PERFECT lady and was more than entertained with all her other dinner guests this evening. Sarah was our lucky door prize winner of the holiday gift recipe book.


Happy Cooking to you in 2012!!!!!!!!
Looking forward to another FABULOUS
Bon Vivant year!


